API Access
Welcome to the API Access section of PlusVector. As a valued paid subscriber, you have exclusive access to our powerful API, enabling you to integrate PlusVector's AI-powered Vector Illustration Engine directly into your workflow. The API provides a seamless way to create SVGs and vector illustrations using text prompts from your own applications or platforms.
Getting Started
To start using the PlusVector API, follow these simple steps:
- Ensure you have an active paid subscription to PlusVector.
- Visit your account dashboard to find your unique API key.
- Use the API key to authenticate your requests as shown in the API documentation.

Authentication
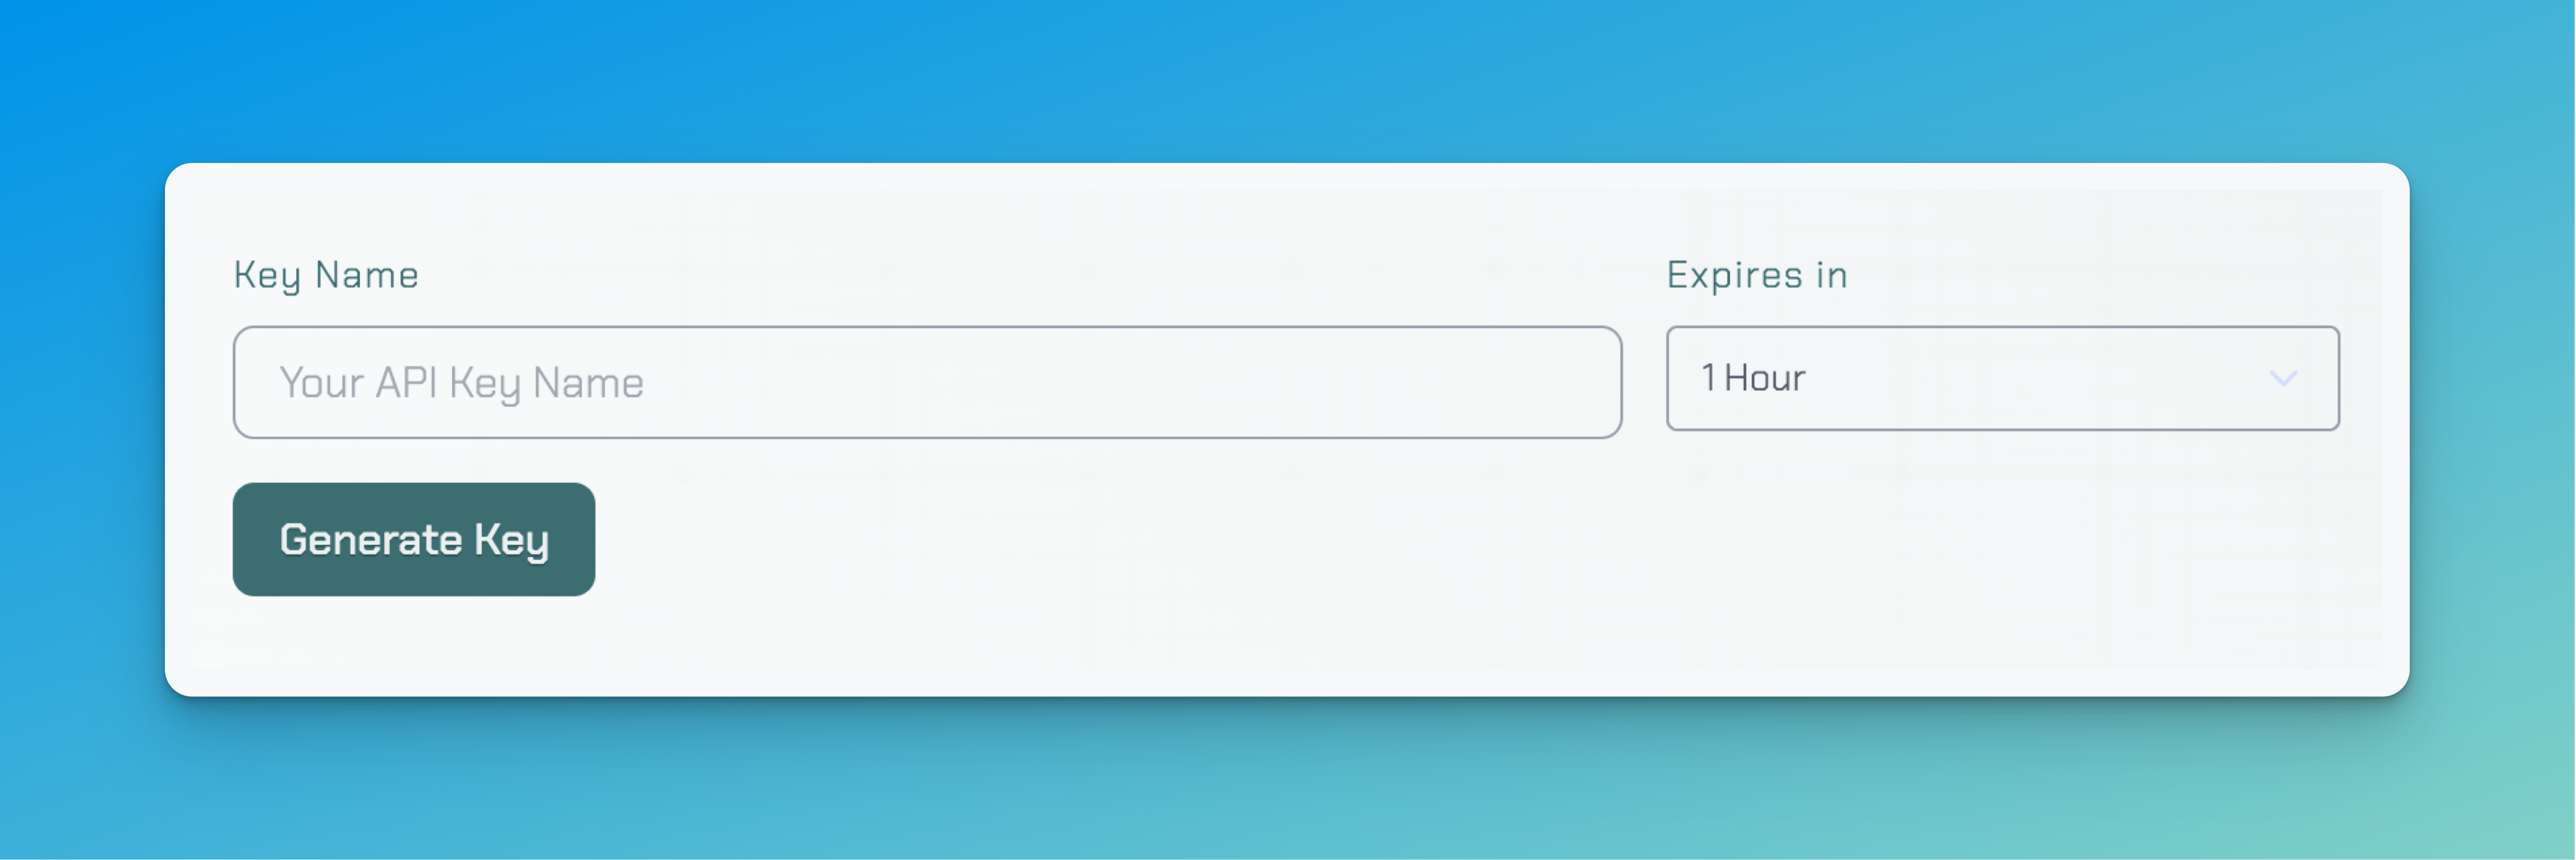
After you've generated an API Key in the API Section of your dashboard, you can use that key to make authenticated requests to the PlusVector API.

Authentication is done by passing your API key in the Authorization header of
your request. The API key is a JWT (JSON Web Token), and has an expiration date
for security purposes.
We recommend rotating your API keys, but you can create an API Key that never expires as well.
API Documentation
Our comprehensive API documentation provides detailed information on how to make requests, the available endpoints, and the expected responses. Whether you're looking to generate a single vector or a batch of illustrations, the documentation has you covered.
View API DocumentationSample API Requests
Refer to the following code snippets to see how to make requests to our API!
Example: Checking your credits balance.
Example: Creating a Vector
Step 1: Generate Preview Concepts
To generate new vectors off a custom prompt, first start by kicking off create render API request. The webhook parameter is optional but useful if you want to use an event driven architecture instead of polling.
The request above will return a unique ID associated with the render, that will be used in following steps.
Next, 4 concept images will be generated. This typically takes around 1-2 minutes. If a webhook URL was passed, a JSON payload will be sent to the endpoint provided once the concept images are ready.
Step 2: Vectorize a Concept
Once the render job is completed and you have concepts, you can then start a request to vectorize one of the concepts.
Pass the Render ID and the zero based index of the concept you want to vectorize.
Again, an optional webhook parameter can be passed to receive an event.
Step 3: Download Vector
Once the vectorization is complete, you can download the vector file.
A signed URL will be provided in the svg key, valid for 2 hours. You can always make another request to fetch a new signed download URL.
Learn more
Refer to the API documentation to see what endpoints are available, and the schemas:
View API DocumentationRate Limits
Rate limits are in place to ensure a fair usage policy. Abuse or attempting to exploit the API will result in a ban.
Requests are limited to 100 per minute.
If you are looking for custom rate limits or a specialized use case, please reach out to support!
API Support
If you encounter any issues or have questions regarding the API, our support team is here to assist. Reach out to us at [email protected].
Contact Support